


For added peace of mind, Beko large appliances are eligible for our 10 Year Beko Parts Guarantee
Read More

We’re proud to have won the Which? Best Value Home Appliance Brand for both 2024 and 2025, recognising our commitment for delivering high-quality appliances and exceptional customer satisfaction.
4.2 out of 5 rating from
over 43036 reviews

We are proud to be the UK's number one large home appliance brand, rated 4.2 out of 5 on Trustpilot.
92% of consumers
recommend Beko
We are proudly recommended by 92% of our customers on Feefo, an independent reviews platform with verified feedback.

How to Clean Your Gas, Ceramic, Electric or Induction Hob
To help keep your hob looking its best, and working its best, you’ll need to clean it every so often, whether your hob is built-in hob or you own a cooker with its own hob. If you’re not too sure where to start, we’ve put together this handy how-to guide to show you how to clean your hob, so that you can keep it looking like brand new every day.

Induction and Ceramic Hobs

If you’ve recently purchased an electric hob, be it induction or ceramic, you can rest easy knowing that these types of hob are amongst the easiest to clean. It’s good practice to clean your hob thoroughly after every use. This is a great way of preventing food or grease spillages from being burnt into the hob surface. Watch the video above to see how to clean your induction or ceramic hob. Or, follow these quick and easy steps to find out how to do this:
- Ensure your hob is disconnected from the mains supply and is cool enough to be able to touch comfortably
- Clean the surface of the hob using warm water with washing up liquid and a soft cloth or sponge
- Wipe dry with a clean cloth
- Note: Dried out spillages should not be scraped off with metal tools, steel wool or any other abrasive cleaning material.
- Note: To remove calcium stains, use a small amount of lime scale remover, or you can use vinegar or lemon juice.
- Note: If the surface of your hob is very dirty, apply a cleaning liquid or cream that is suitable for use on ceramic and induction hobs, and wait for it to be well-absorbed before cleaning the surface of the hob.
Gas Hobs and Gas on Glass Hobs
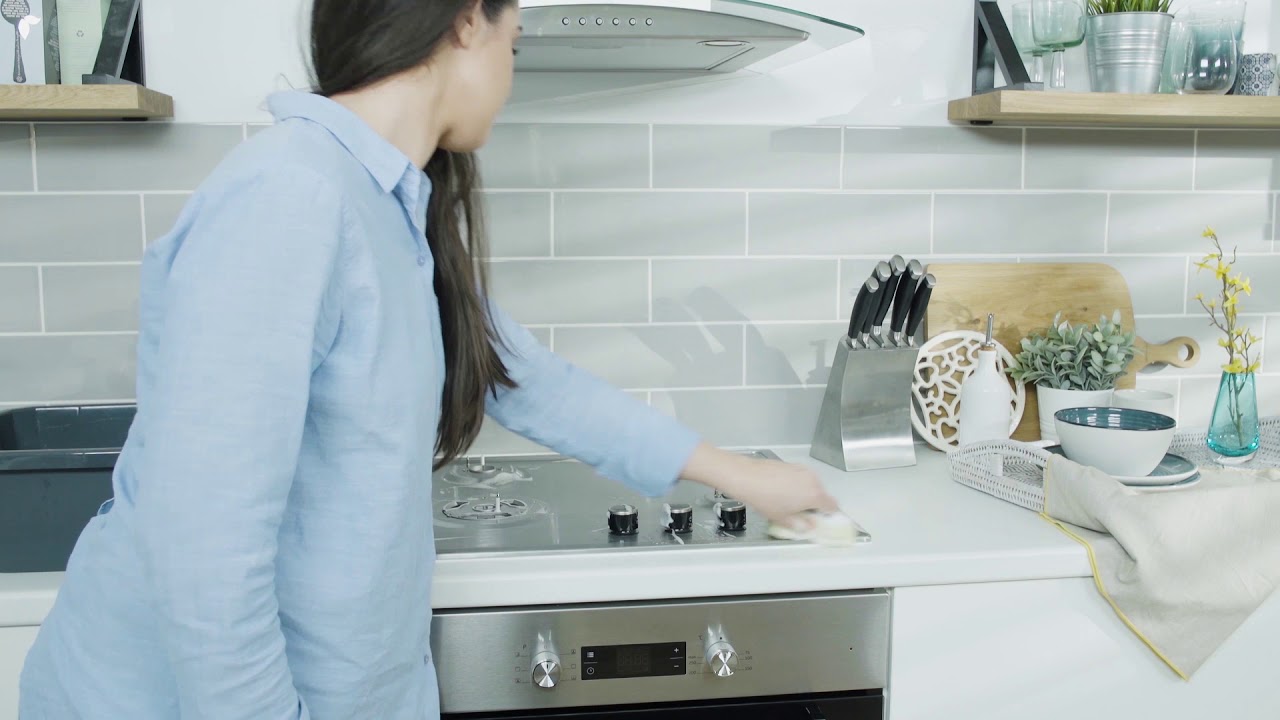
If you own a built-in gas hob, it’s good practice to clean it thoroughly after every use. Not only is this a great way of preventing spillages to dry up and become difficult to clean, this will help to keep your gas hob looking its best. Watch the video above to see how to clean your gas hob or gas on glass hob. Or, follow these quick and easy steps to find out how to do this:
- Remove all pan supports and gas caps
- Clean the surface of the hob using warm water with washing up liquid and a soft cloth or sponge
- Once the surface has dried, reinstall the burner caps, making sure they are sitting in their correct position
- Replace the pan supports ensuring they are positioned so that the burners are centred
If you have any questions regarding these steps, please feel free to contact our customer service team, with the model and serial number of your appliance. They will be happy to assist you.
Did you find this How-To guide useful?
Thank you for your feedback and we are sorry this How-To Guide wasn’t useful to you. If you would like further assistance, please head over to our Contact Us page.
Need Product Support?
If you have any questions about your Beko appliance, we are here to help. Finding answers and information is easy with Beko’s helpful online resources, simply browse our product support topics below and select the one that is relevant to you.

Manuals
Beko manuals contain helpful information and advice about your appliance.
View Manuals
Parts & Accessories
We stock genuine Beko spare parts and accessories for all of our models.
View Range Now
FAQs
Browse the most asked questions about our product range.
Search FAQs
Repairs
Information on our professional repair services.
View Repairs