


For added peace of mind, Beko large appliances are eligible for our 10 Year Beko Parts Guarantee
Read More 4.2 out of 5 rating from
over 45077 reviews

We are proud to be the UK's number one large home appliance brand, rated 4.2 out of 5 on Trustpilot.
94% of consumers
recommend Beko
We are proudly recommended by 94% of our customers on Feefo, an independent reviews platform with verified feedback.
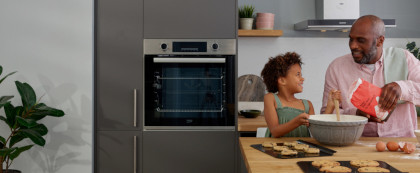
How to Clean your Pyrolytic Oven
Some of the ovens in our built-in range are self-cleaning, coming with our pyrolytic function. This helpful technology helps you spend less time scrubbing your oven clean. At the touch of a button, the pyrolytic self-cleaning function heats the oven up to a super-hot 480°C, turning dirt to dust, so that all that’s left to do is wipe the dirt away with a cloth. From time to time, you will need to clean your pyrolytic oven, so we’ve put together this handy how-to guide to show you how to clean it.

General Cleaning Tips

It’s good to get into the habit of using your built-in oven’s pyrolytic self-cleaning function every 10th time you use your oven. Sometimes it depends how dirty your oven is and how long you want your oven to clean itself for, so you may find that you’ll need to use the self-cleaning function more often or less often than every 10th usage. On some of our pyrolytic self-cleaning ovens, you have the option of the 120-minute cycle or an Eco cycle that runs for 90 minutes, all depending on how dirty you think your oven is. Here are a few general oven-cleaning tips you should know about before you get started:
- Before you begin cleaning, disconnect your oven from the mains supply
- If you’ve recently used your oven, make sure you allow enough time for it to cool down before cleaning
- Remove all the oven accessories, like the trays and if your oven has them, the side racks
Cleaning the Removable Parts and Exterior Oven Door
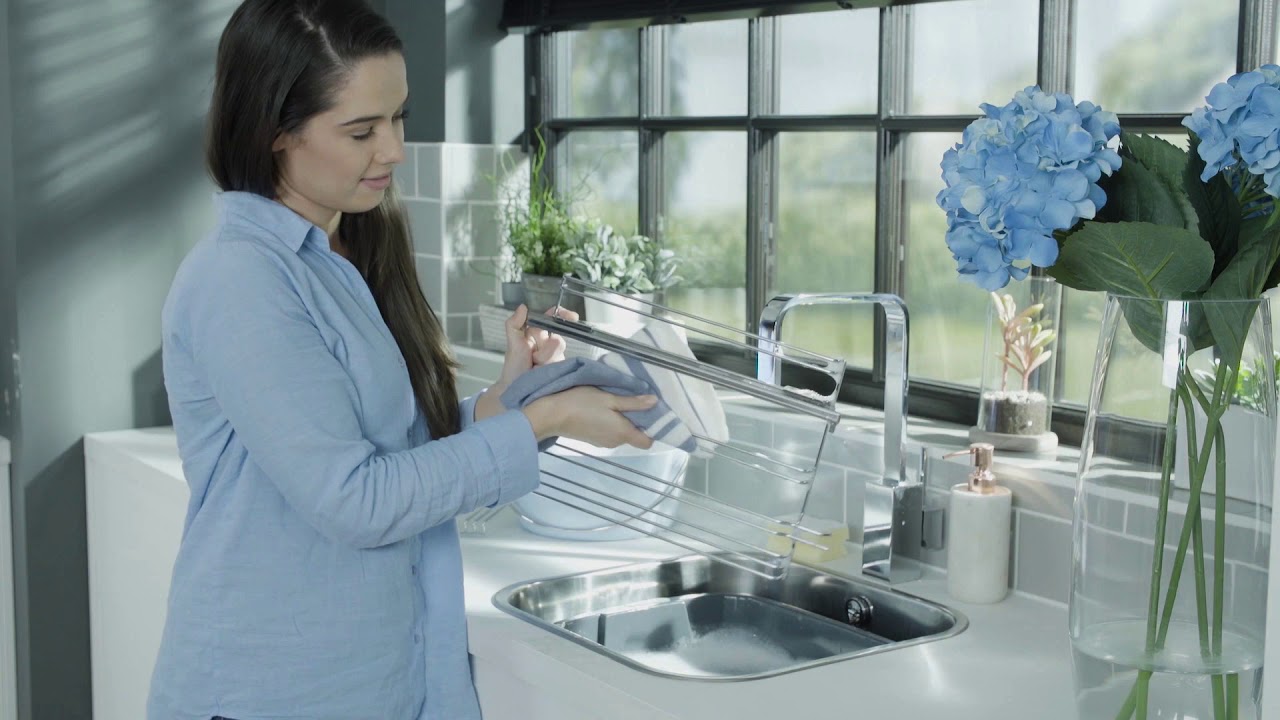
There are only a few things that you will need to clean yourself, even in a pyrolytic self-cleaning oven. Watch the video above to see how to clean the removable parts. Or, follow these quick and easy steps to find out how to do this:
- Remove the side racks by pulling on the front section of the rack so that it pops out of place
- Pull the entire rack towards yourself to remove it
- Clean the removable parts using warm water, washing up liquid and a sponge
- Wipe dry with a clean and dry cloth
- Remove any dirt from the outside of the oven using warm water and washing up liquid, and a soft cloth or sponge
- Wipe dry with a clean and dry cloth
Cleaning the Control Panel
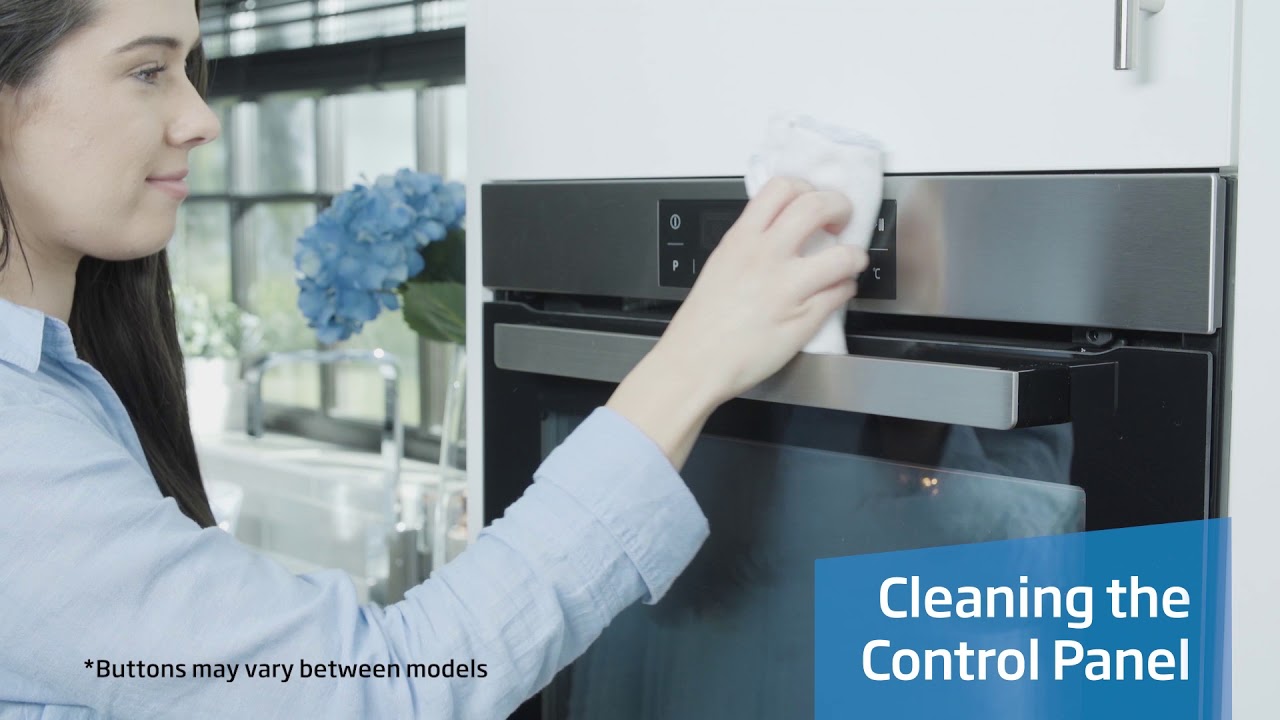
After you’ve cleaned the removable parts, it’s time to clean your control panel. Watch the video above to see how to clean the control panel. Or, follow this quick and easy step to find out how to do this:
- Use a damp cloth and wipe until clean and dry. Note: Do not attempt to remove the control buttons as this may damage your appliance.
Using the Pyrolytic Self-cleaning Function
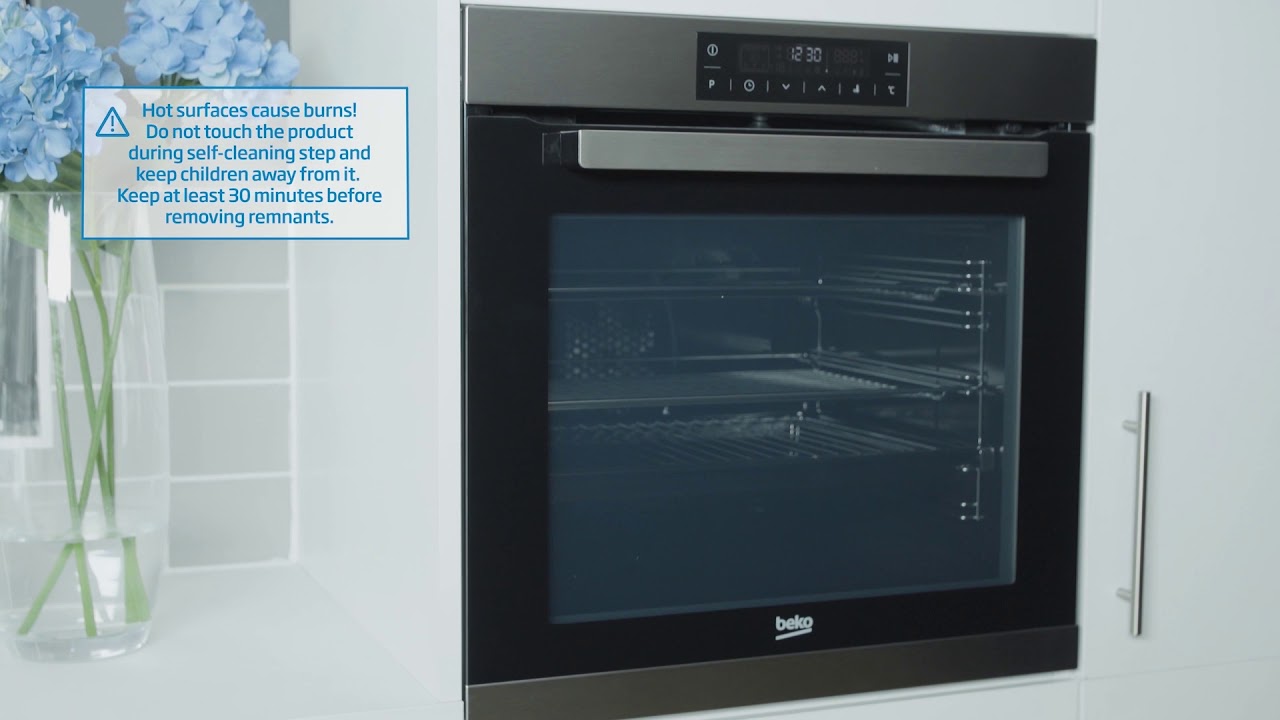
Now that you’ve cleaned your oven’s removeable parts and control panel, you can use the pyrolytic function. This function is available on Beko’s Pyrolytic ovens. After starting the function, your oven door will automatically lock itself for safety purposes, because the oven with heat up to 480 degrees Celsius. You won’t be able to open the door until the cleaning cycle has finished. Once the cycle has finished and you have let the oven cool down, the last stage is to remove the dirt with a water and vinegar solution. Ensure you are wearing protective clothing and gloves just in case the oven is still warm.
Cleaning your Oven Door by Removing the Door Inner Glass
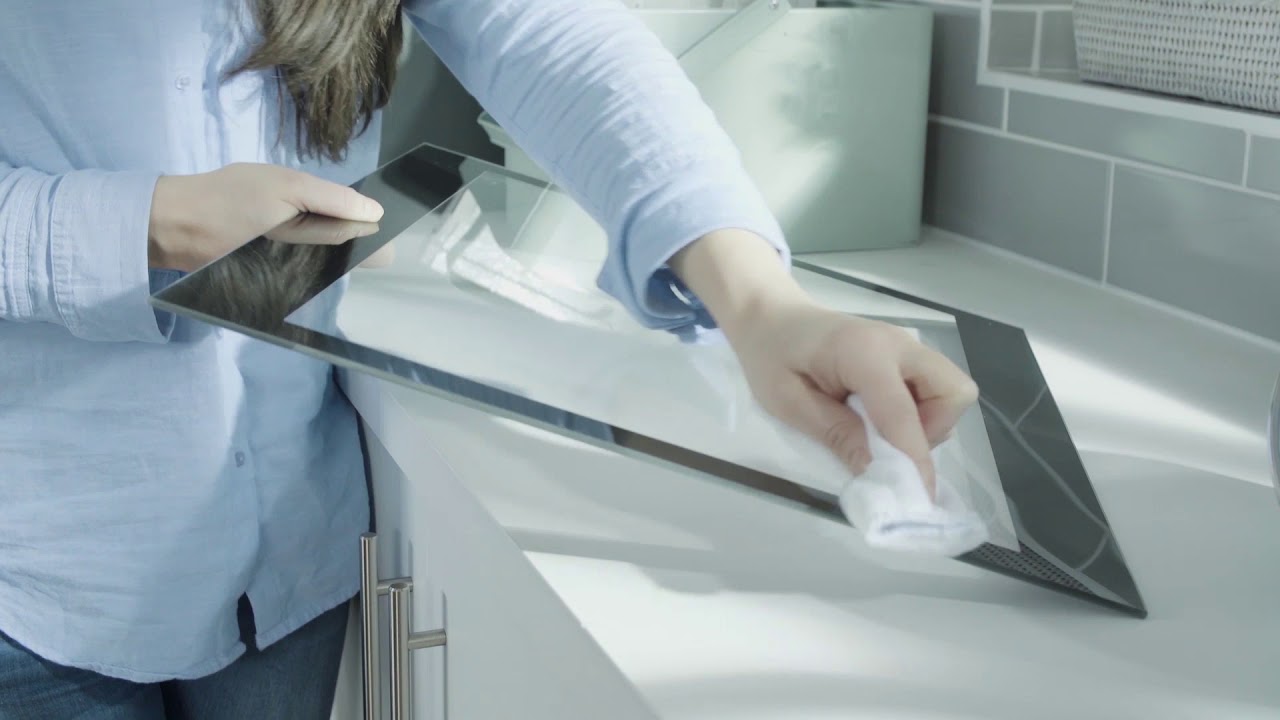
Our range of built-in ovens allows you to clean the oven door easily, by simply removing its inner glass. Depending on the type of oven you have, the door could have either two, three, or four pieces of glass in the door. Watch the video above to see how to remove and clean the door inner glass. Or, follow these quick and easy steps to find out how to do this:
- Open the oven door so that it is at an angle
- Locate the plinth at the top of the door and lift it up and away from the door to remove it
- Once you’ve removed the plinth, you’ll be able to see how many individual pieces of glass there are
- Lift the individual pieces of glass away, one by one for cleaning. Note: When replacing the pieces of glass, ensure they are placed back in the same order that they were removed. When replacing the last piece of glass, ensure the side of the glass with the shiny finish is facing towards the oven.
- Once all pieces of glass have been cleaned the way you like and refitted, place the plinth back on top to hold the pieces of glass in place
Cleaning your Oven Door by Removing the Oven Door
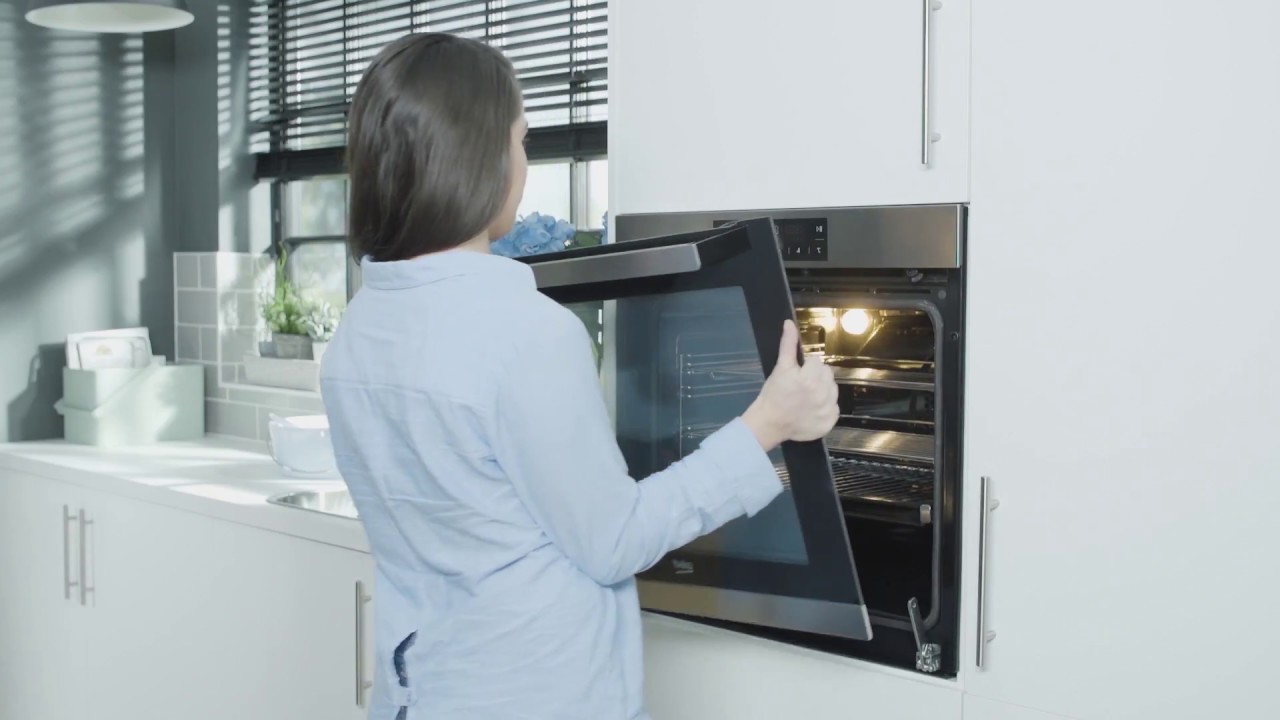
Our range of built-in ovens also comes with the option of easily removing the oven door, so that you can clean it. Watch the video above to see how to remove your oven door and clean it. Or, follow these quick and easy steps to find out how to do this:
- Locate the 2 hinges at the base of the oven door, one on each side of the base of the door
- Alongside each hinge, there is a small clip bracket which needs to be pushed away from yourself in order to release the door from the rest of the oven
- The clip may be stiff, so if necessary, use a flat head screwdriver
- Once both brackets have been pushed towards the oven, raise the door up to the level where it naturally stops then, lift the door upwards
- Remove any dirt using warm water and washing up liquid, and a soft cloth or sponge
- Replace the door back in its position
For ovens with a pyrolytic self-cleaning function, discover how to use it safely and effectively in our pyrolytic oven cleaning guide.
If you have any questions regarding these steps, please feel free to contact our customer service team, with the model and serial number of your oven. Our expert support team will be more than happy to assist you. Alternatively, if you are looking for a new Pyrolytic oven, why not explore our full range of self-cleaning ovens ?
Did you find this How-To guide useful?
Thank you for your feedback and we are sorry this How-To Guide wasn’t useful to you. If you would like further assistance, please head over to our Contact Us page.
Need Product Support?
If you have any questions about your Beko appliance, we are here to help. Finding answers and information is easy with Beko’s helpful online resources, simply browse our product support topics below and select the one that is relevant to you.

Manuals
Beko manuals contain helpful information and advice about your appliance.
View Manuals
Parts & Accessories
We stock genuine Beko spare parts and accessories for all of our models.
View Range Now
FAQs
Browse the most asked questions about our product range.
Search FAQs
Repairs
Information on our professional repair services.
View Repairs