



For added peace of mind, Beko large appliances are eligible for our 10 Year Beko Parts Guarantee
Read More

4.2 out of 5 rating from
over 47430 reviews

We are proud to be the UK's number one large home appliance brand, rated 4.2 out of 5 on Trustpilot.

94% of consumers
recommend Beko

We are proudly recommended by 94% of our customers on Feefo, an independent reviews platform with verified feedback.
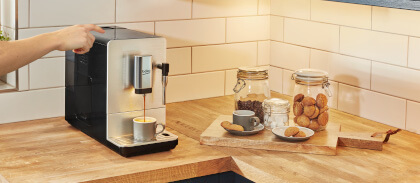
How to install your new Bean to Cup Coffee Machine
If you’ve recently purchased a Beko Bean to Cup Coffee Machine, you will need to correctly install the appliance before it is ready to use. Installing your new Beko coffee machine is quick and easy. To help you correctly install your new appliance, we’ve put together this how-to guide to help you get started.
Installation:
Remember to read all instructions in the user manual before installation.
- Remove any protective films, stickers, and any other packaging on the appliance.
- Choose a safe and stable surface with an easily reachable power supply.
- Insert the external drip tray into the appliance, making sure it is inserted correctly. For a more visual guide, please refer to your appliance’s handbook.
- Unwind and straighten the power cord and insert the plug into the socket located on the back of the machine. Insert the other end of the power cord into a wall socket with suitable power voltage.
Filling the water tank:
- Lift the water tank by using the lid as the handle.
- Take the water tank out and rinse with fresh water.
- Fill the tank to the maximum level and place it back into the machine, making sure it is fully inserted. Do not add water directly into the appliance with another container and do not fill the tank with warm, hot, sparkling water, or any other liquid as this may damage the machine.
- Place the water tank back, using the lid as the handle.
- Close the water tank by using the lid.
Filling the bean container and adjusting the coffee grind:
When the coffee bean symbol flashes, the appliance needs to be filled with more coffee beans. To refill the bean container, follow these simple instructions:
- Remove the bean container lid.
- Slowly pour in the coffee beans.
- Place the container lid back.
- Only fill the coffee bean container with coffee beans. Ground coffee, instant coffee, caramelised coffee, or any other objects may damage the machine.
- If you wish to adjust the grinder to suit the roast of your coffee, simply turn the adjuster knob in the bean container. The dots on the adjuster knob indicate the fineness of the grind. Never adjust the coffee grinder while the grinder is operation as this can result in damage to the appliance.
Need Product Support?
If you have any questions about your Beko appliance, we are here to help. Finding answers and information is easy with Beko’s helpful online resources, simply browse our product support topics below and select the one that is relevant to you.

Manuals
Beko manuals contain helpful information and advice about your appliance.
View Manuals
Product Registration
We can quickly contact you for an important product update or service repairs.
Register Appliance
FAQs
Browse the most asked questions about our product range.
Search FAQs
How-to Videos
Helpful how-to videos on our appliances.
View How-Tos